I’ve owned and used a Fellow Stagg Gooseneck Kettle for about 5 years now. It’s been a great kettle. Recently I wanted a kettle for my home office, so I could make tea while working. I didn’t want to spent $165. on a Fellow and started looking around. I was drawn to the DmofwHi Gooseneck Electric Kettle in Green. It was simple and beautiful. I spent some time researching it before buying for $39.99. Below are some thoughts on the two kettles.
Comparison
| Feature | Fellow | DmofwHi |
| Price | $165 | $39.99 |
| Capacity | 0.9L | 1.0L |
| Material | 304 stainless steel | 304 stainless steel |
| Watts | 1200 W | 1000 W |
| Temp. Control | Yes | No |
| Temp. Hold | 60 min | 60 min |
| Auto Shutoff | Yes | Yes |
| Boil-Dry Protection | Yes | Yes |
| Spout Size | 0.7 CM | 0.8 CM |
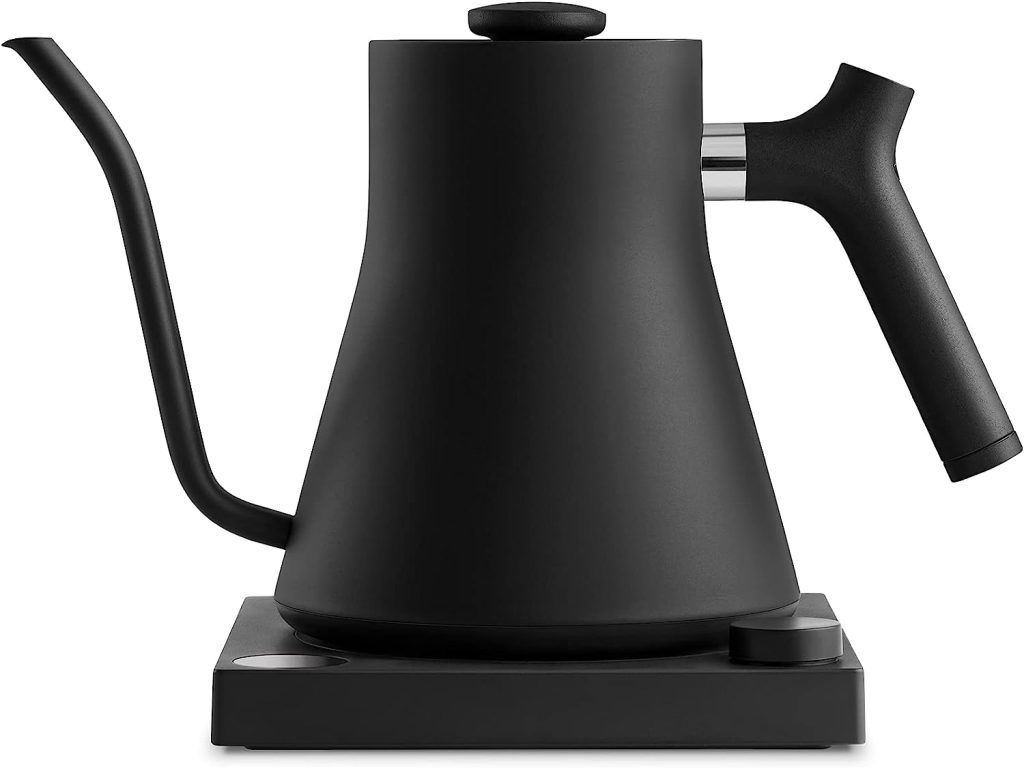
Fellow Stagg
This has been a great kettle. It has lasted over 5 years with no problems. It boils quickly and pours precisely.
The spout size on the Fellow is way too narrow. You need super patience when pouring. This is OK when pouring a drip coffee and you want to be precise, but frustrating when pouring tea. I often find myself tilting too far and water comes out the top. I have to tell myself slow down.
It has features I never use through. I don’t ever change the temperature, expect by accident. At which point I need to find the manual to set it back to what is was. But others may want to dial in exactly the temperature.
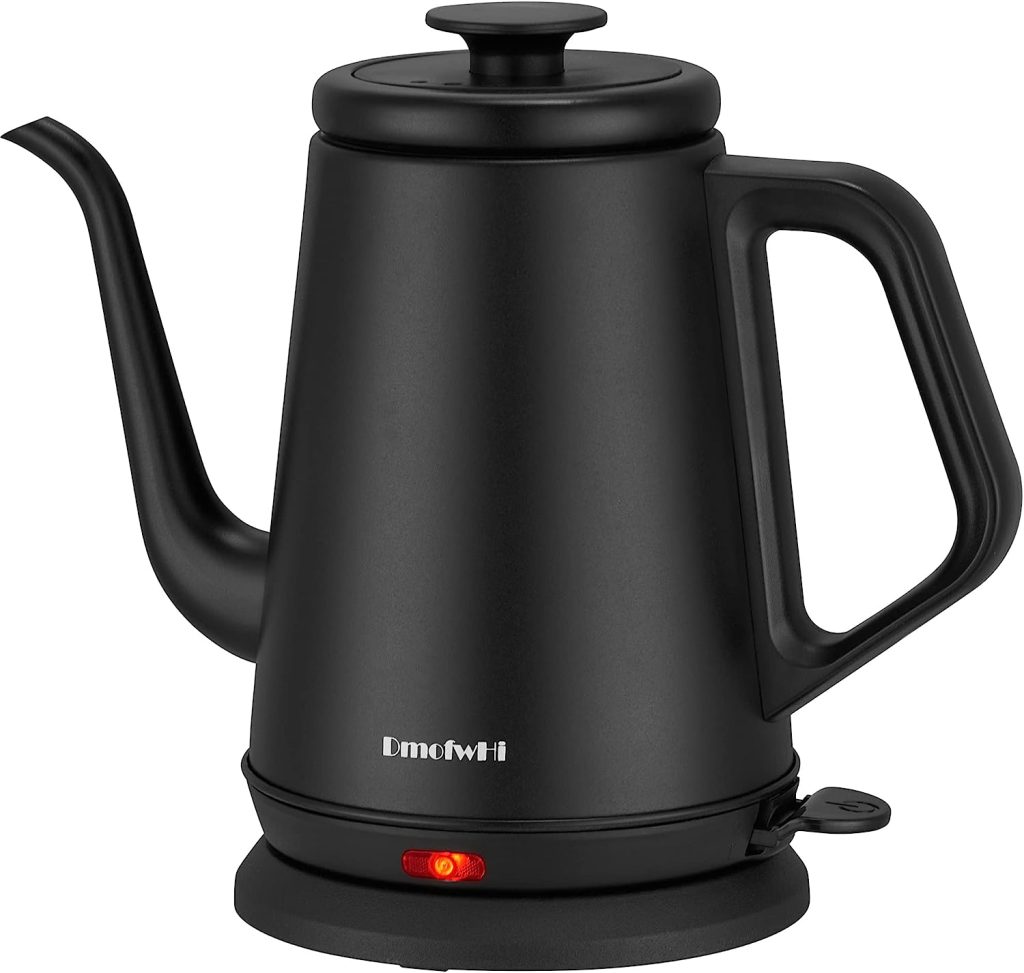
DmofwHi
I’ve only been using the DmofwHi for about a month, but love it already. It boils quickly. At 1000 Watts, it will be slower than the Fellow. But I’ve never noticed.
I love how quickly it pours. And I’ve never spilt water out the top while pouring.
And I’d assume that being less complicated, there are less things to break over time.
Summary
The Fellow has been a great kettle. But the DmofwHi at a fraction of the price gives me everything I need. I would happily buy the DmofwHi again or give it as a gift.
Comments closed