Want to build your own DeskHog but found the official project page lacking in instructions? I did too. Here’s the step-by-step guide I wish I had when I started—complete with photos, links, and tips.
Hardware & Files You’ll Need
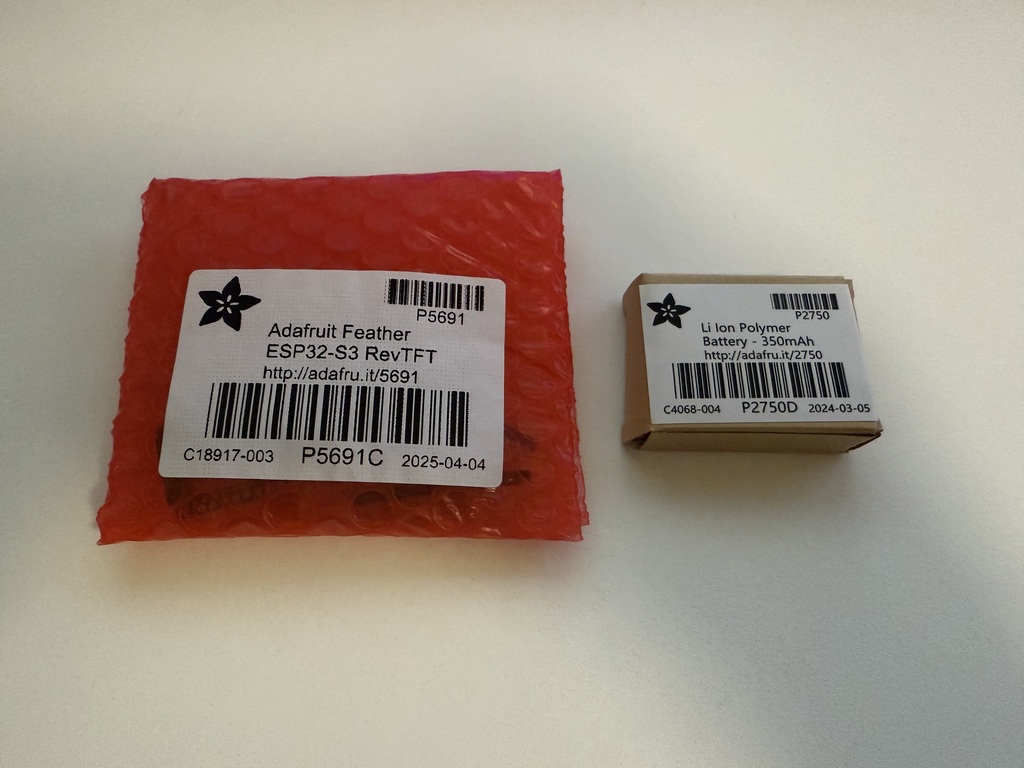
From the project README:
- ESP32‑S3 Reverse TFT Feather (Adafruit 5691)
- (Optional) PKCell 552035 LiPo battery (350 mAh) Adafruit
- 3D-printed enclosure, print: 3mf file

Printing the Case
I downloaded the .3mf file and imported it into my 3D printer software. The slicer recommended adding supports, which I did.
I used PLA+ at 0.2mm layer height
Here is what the print looked like:
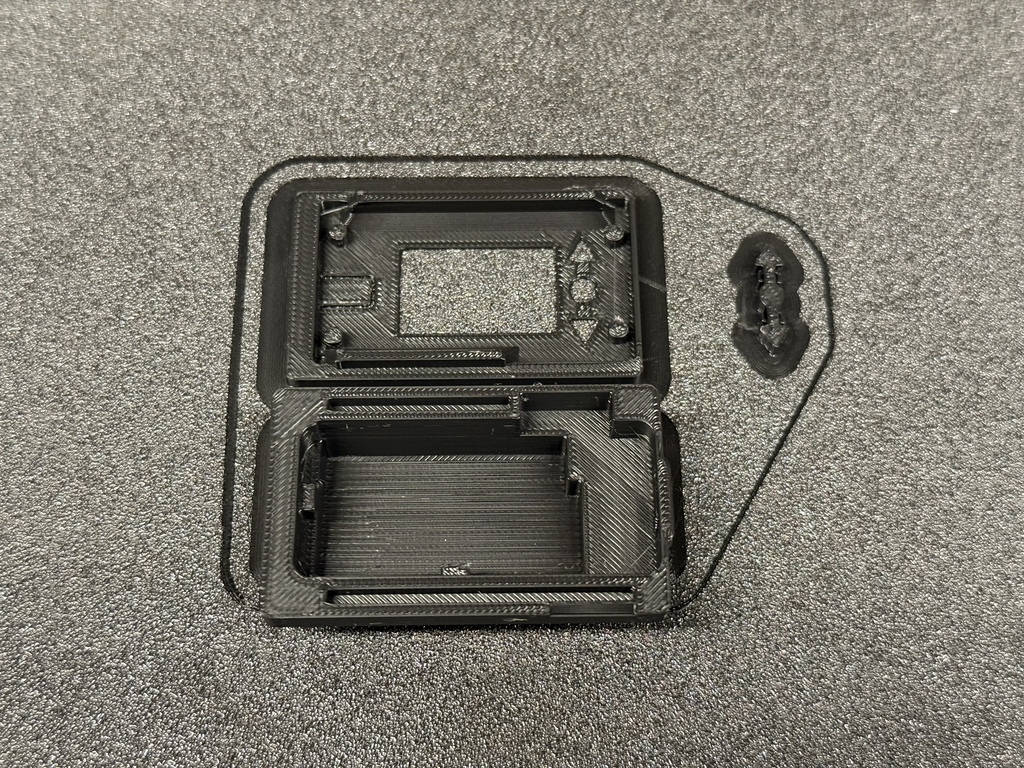
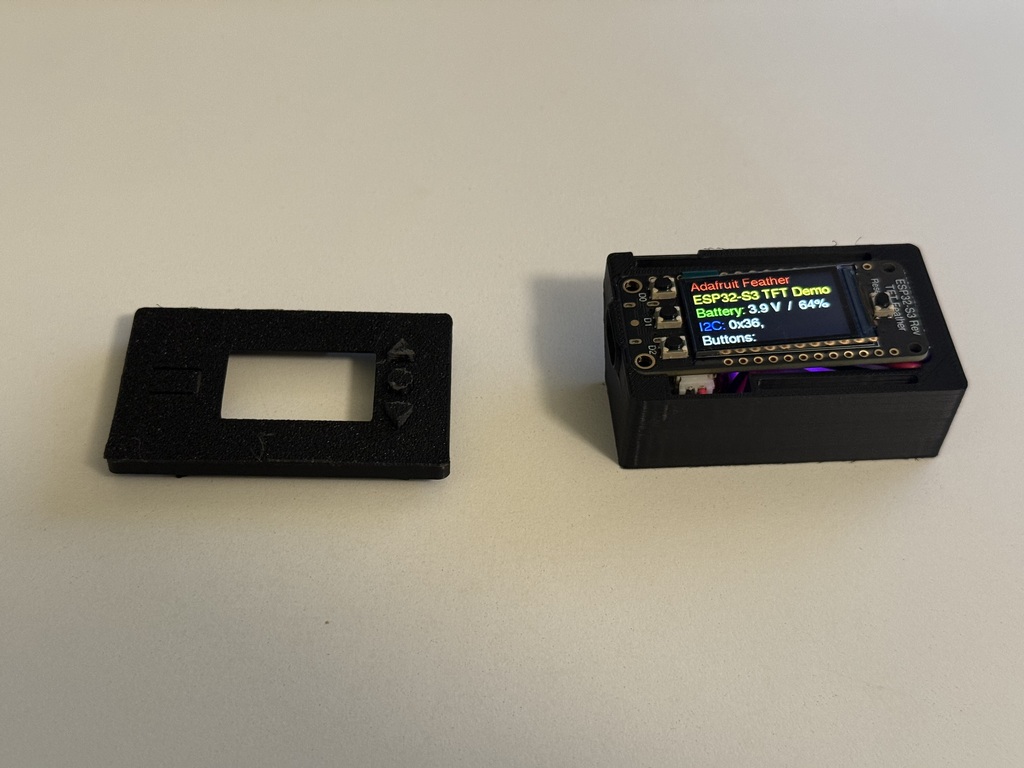
The print includes 3 pieces:
- Bottom case
- Top case
- Keypad
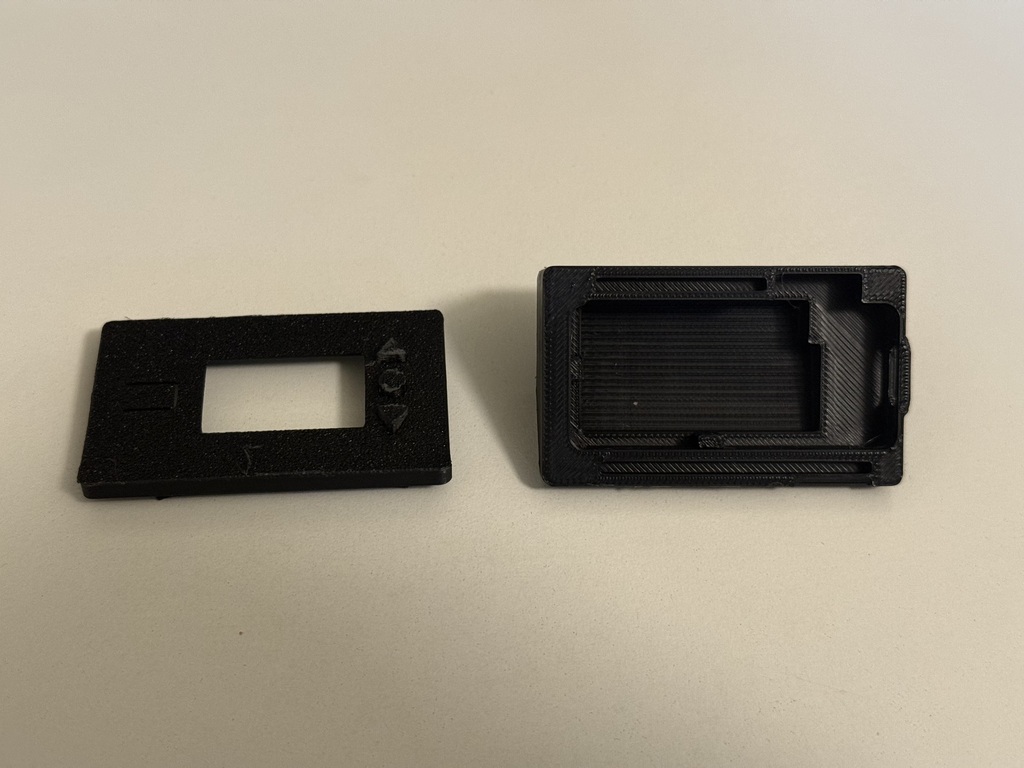
After printing, I removed the supports and cleaned things up with a knife and sandpaper. The hardest part was getting the keypad to fit cleanly into the top case.
Here’s the final result after cleanup.
Assembling the Hardware
Attach the LiPo battery to the board.
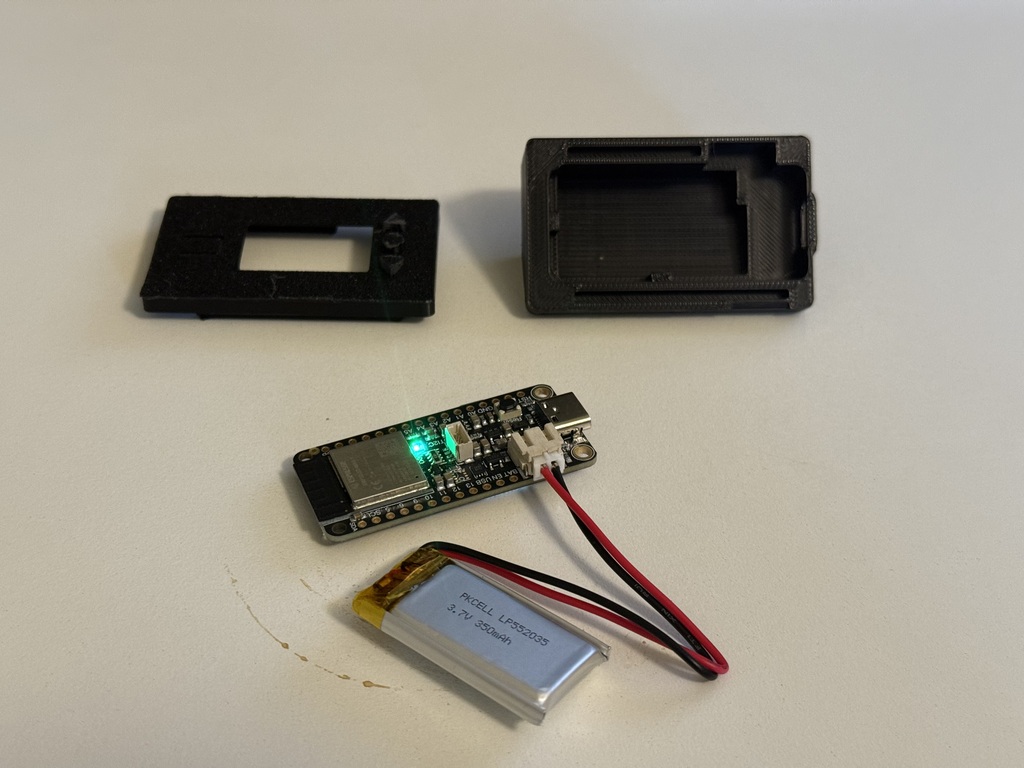
Place both inside the bottom case.
Snap the top case on.
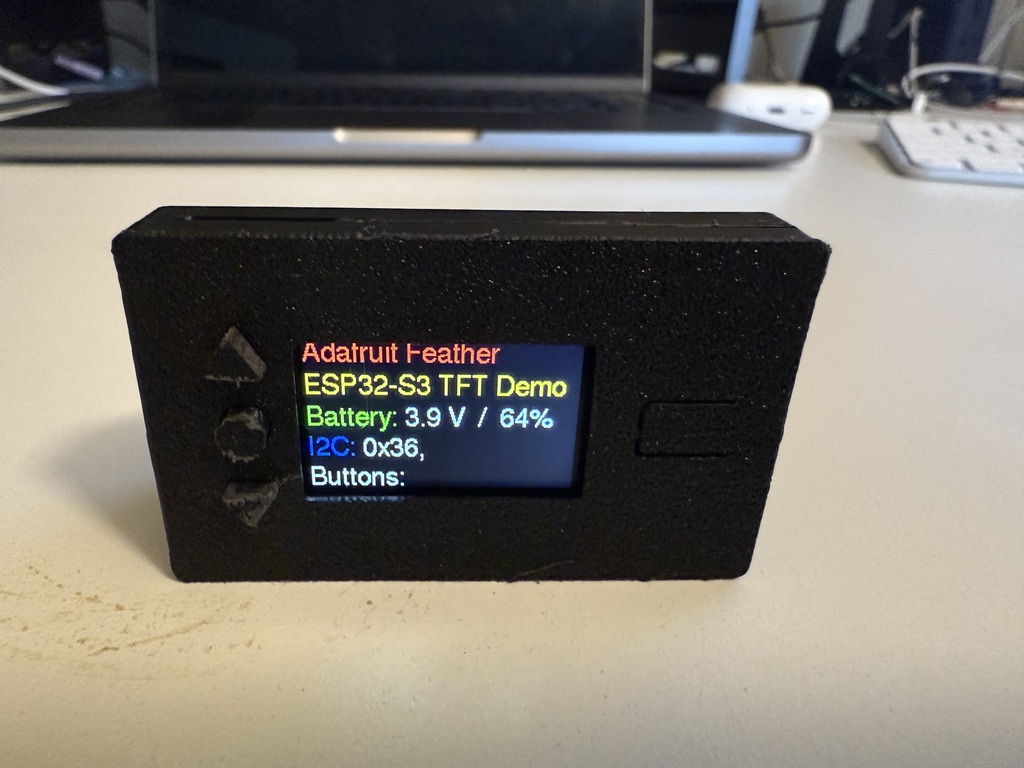
Connect the DeskHog to your computer via USB-C.
Setting Up the Firmware
1. Clone the repo:
git clone https://github.com/PostHog/DeskHog.git
cd DeskHog
2. Install the UV Package Manager (if you don’t have it)
I’m using UV package manager to make this process easier. If you don’t have uv install, here is how:
Install uv
curl -Ls https://astral.sh/uv/install.sh | shOr use Homebrew (macOS):
brew install astral-sh/uv/uvMake sure it’s working:
uv --version
3. Create a Virtual Environment
uv venv
source .venv/bin/activate # macOS/Linux
python -m ensurepip
This creates and activates a fast Python virtual environment.
4. Install PlatformIO, which the project uses to build and flash the firmware:
uv pip install platformio5. Flash the Firmware
Make sure you’re in the root project folder (where platformio.ini lives), then:
platformio run --target uploadThis builds and uploads the firmware using USB (with Auto-DFU support).
6. Power and charge:
To power off: Hold the ● + ▼ buttons.
To power on: Press the reset pad.
Charging is automatic when plugged into USB-C.
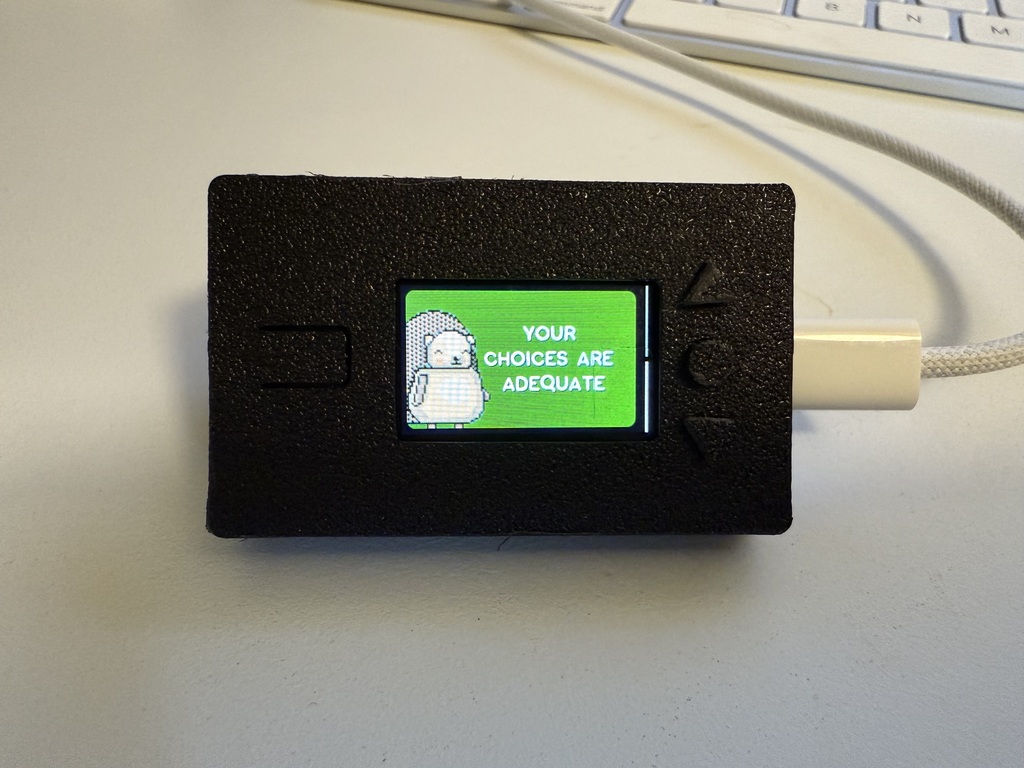
What It Does Out of the Box
Once booted, you’ll see:
- ProvisioningCard: Shows a QR code for Wi‑Fi setup
- InsightCard: Displays PostHog data
- FriendCard: A sweet ‘encouragement’ screen featuring Max the hedgehog
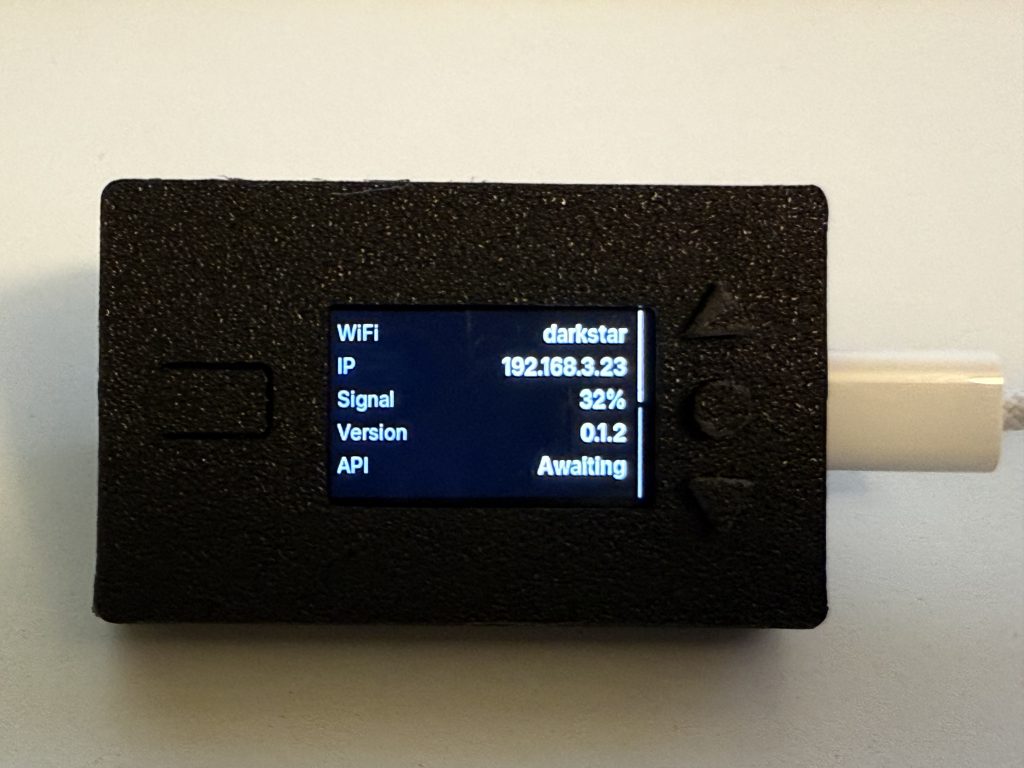
Connecting to Wi-Fi
Once powered on, the DeskHog shows a QR code for Wi-Fi setup. Scan it to connect to your network—just pick your SSID and enter the password.

From here you can select your network and enter your password. Once connected you’ll see 2 screens. A screen with: WiFi, IP, Signal, Version and API. And a FriendCard
Add PostHog Insights
Go to the IP address displayed on your DeskHog.
You’ll see the configuration page.

Enter your PostHog Team ID (or Project ID) and a read-only API key.
Add the Insights you want to display.
And you’re done! You now have your own fully functional DeskHog.
Final Thoughts
This was a fun weekend project. If you’re already using PostHog, it’s a nice little dashboard for your desk—and a conversation starter too.