Charles “is an HTTP proxy / HTTP monitor / Reverse Proxy that enables a developer to view all of the HTTP and SSL / HTTPS traffic between their machine and the Internet. This includes requests, responses and the HTTP headers (which contain the cookies and caching information).”
It is one of my favorite tools for debugging network applications. It supports Mac, Windows, Linux and even iOS.
The instructions on their website for SSL connections from within iPhone applications are not quite complete. Especially the last step which is tricky and I often forget. Here are complete instructions for SSL proxy connections on the iOS Simulator.
1. Add SSL Location. After launching Charles, open the menu:
Proxy > SSL Proxying Settings
The click the “Add Button”
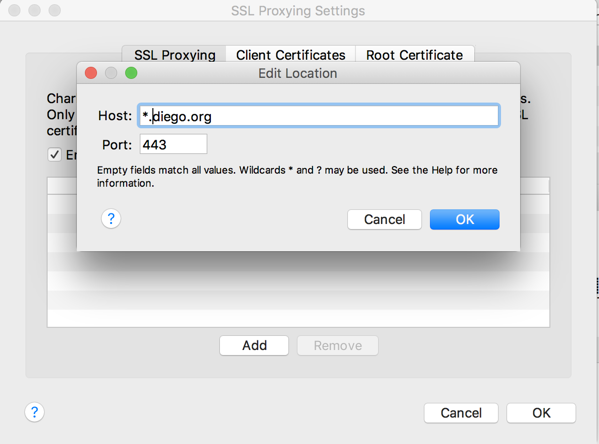
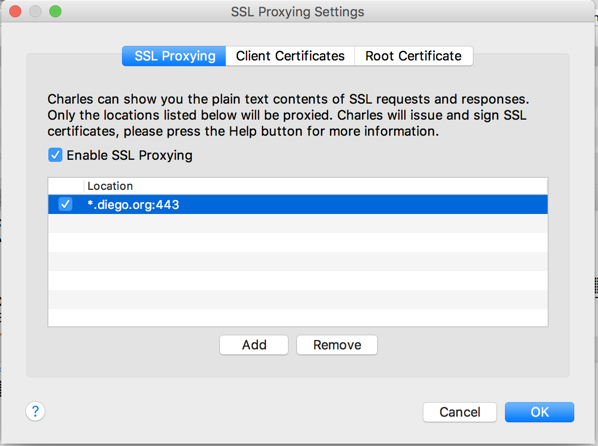
Type in the location you want to add. You can use wildcards if you like. When you’re done, you should see you location in the list:
2. Install Charles Root Certificate in iOS Simulators. Open the menu:
Help > Install Charles Root Certificate in iOS Simulators
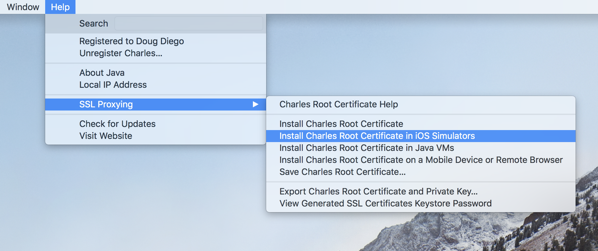
This will install the Charles Root Certificate on the Simulator.
3. Enable the Root Certificate. This is the step, they forget to document. And the last part of it is tricky.
On the Simulator, go to:
Settings > General > About > Certificate Trust Settings
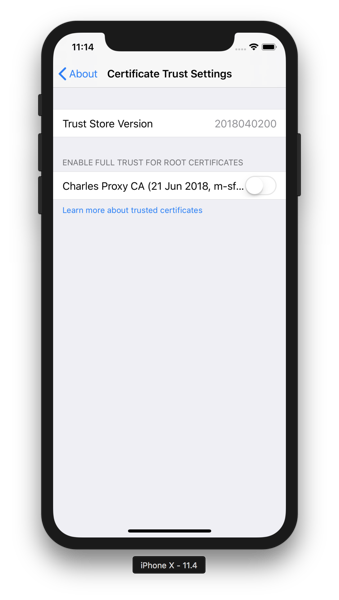
Swipe the switch to enable the certificate. It will give a warning which you must choose “Continue”
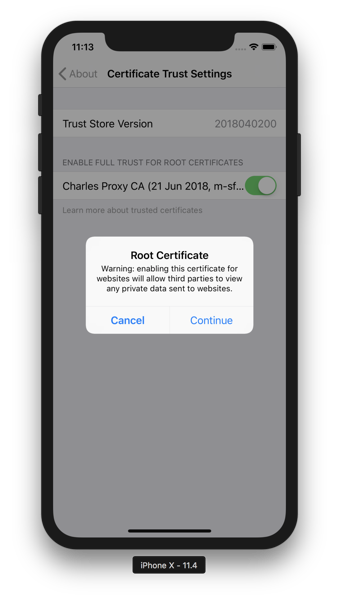
You’ll be placed back on the Certificate Trust Settings page with the switch on:
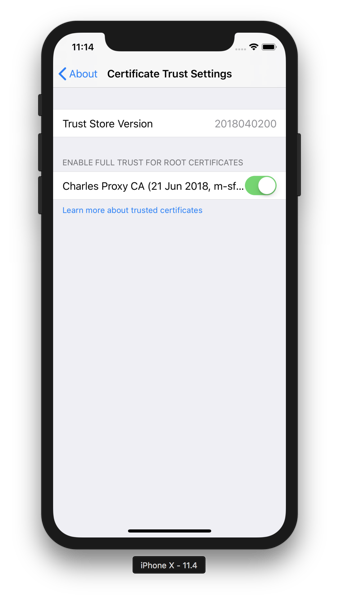
Now is the critical part. Quit the Simulator. Now run your application again and Charles will be able to decrypt your network communications.
Comments closed